 English
 中文简体
中文简体 Türk
TürkContent
- 1 Understanding Embroidery Hot-Melt Film
- 2 Key Benefits of Using Hot-Melt Film in Embroidery
- 3 How to Choose the Right Embroidery Stabilizer Backing
- 4 Step-by-Step Guide to Applying Heat Transfer Film for Embroidery
- 5 Best Practices for No-Sew Embroidery Patches
- 6 Troubleshooting Common Issues with Hot-Melt Film Backing
- 7 Creative Applications of Embroidery Adhesive Film in Design
Understanding Embroidery Hot-Melt Film
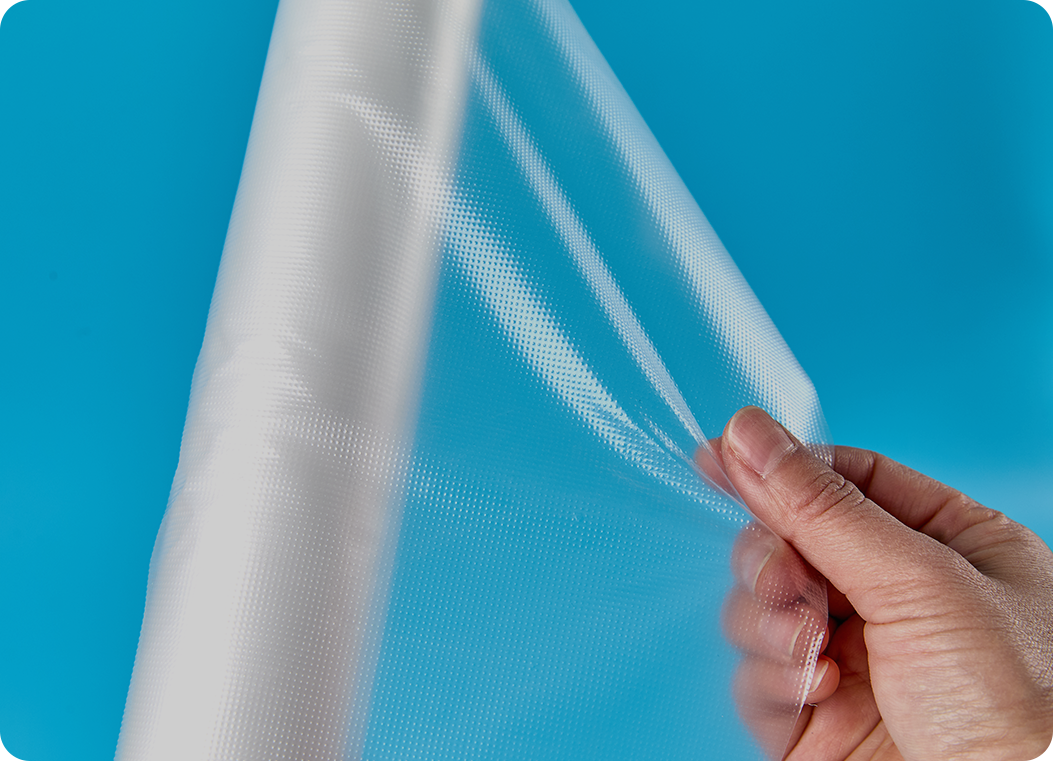
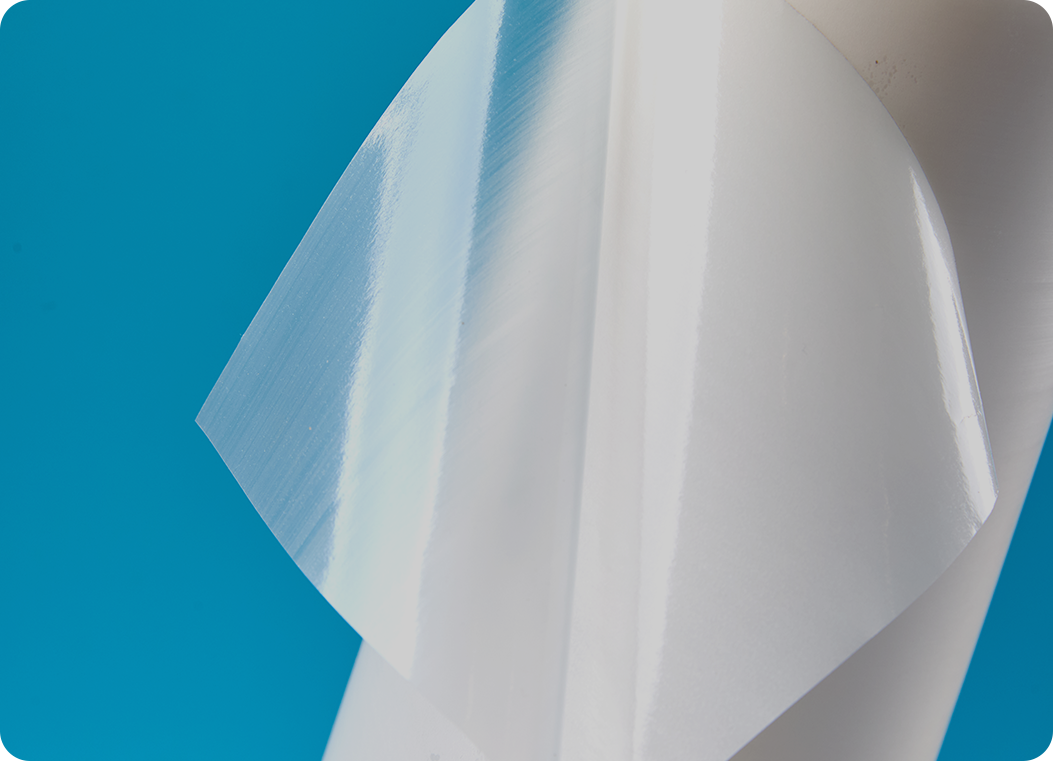
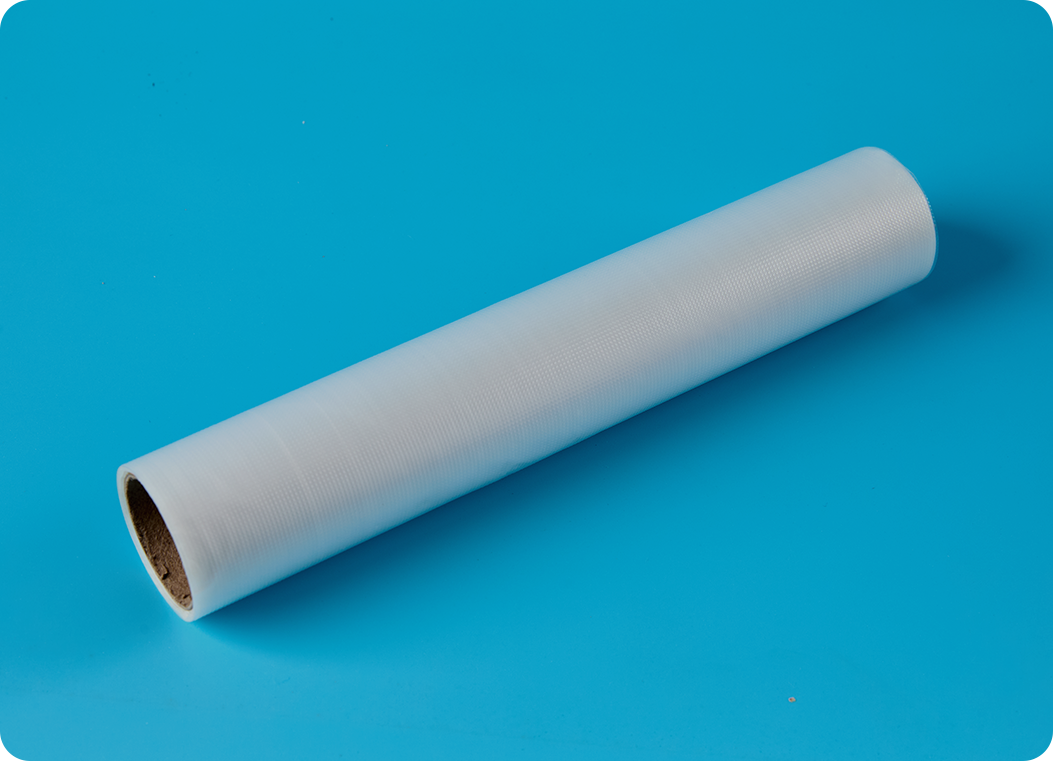
Embroidery hot-melt film is a revolutionary material that has transformed the textile and apparel decoration industry. This thermoplastic adhesive film is designed to be used as a backing for embroidery, providing stability, preventing puckering, and ensuring a clean, professional finish. Unlike traditional cut-away or tear-away backings, hot-melt film fuses with the fabric through the application of heat and pressure, creating a permanent bond that enhances the durability and appearance of the embroidered design. The film is typically applied to the fabric before the embroidery process begins, and once the stitching is complete, the excess film is easily removed, leaving behind a smooth and stable embroidery patch. This technology is particularly beneficial for stretchy fabrics, delicate materials, and designs that require a high level of detail and precision. The use of hot-melt film has become increasingly popular due to its ability to address common embroidery challenges such as fabric distortion, thread tension issues, and overall design integrity. As the demand for high-quality embroidered products grows, understanding the intricacies of embroidery hot-melt film becomes essential for manufacturers, designers, and enthusiasts alike.
Key Benefits of Using Hot-Melt Film in Embroidery
The adoption of hot-melt film in embroidery projects offers a multitude of advantages that significantly improve the quality and efficiency of the process. One of the primary benefits is the exceptional stability it provides to the fabric during embroidery. This is particularly important when working with materials that are prone to stretching or shifting, such as knits, jerseys, or lightweight synthetics. The film acts as a stabilizer, preventing the fabric from puckering or distorting under the needle's pressure, which results in a cleaner and more precise stitch output. Additionally, the film enhances the durability of the embroidery by reinforcing the stitches from the back, making the design more resistant to wear, tear, and frequent washing. This is a crucial factor for items like sportswear, uniforms, and frequently laundered garments. Another significant advantage is the reduction of thread breaks and needle breaks. The smooth surface of the film reduces friction between the needle and the fabric, allowing for smoother stitching and fewer interruptions. This not only improves the quality of the final product but also increases productivity by minimizing downtime for rethreading and needle changes. Furthermore, hot-melt film simplifies the finishing process. Since the film is designed to be easily removed after embroidery, it eliminates the need for tedious picking or tearing of traditional backings, saving time and labor costs. The environmental aspect should not be overlooked either; as a clean and waste-efficient material, it contributes to a more sustainable production process compared to some other stabilization methods.
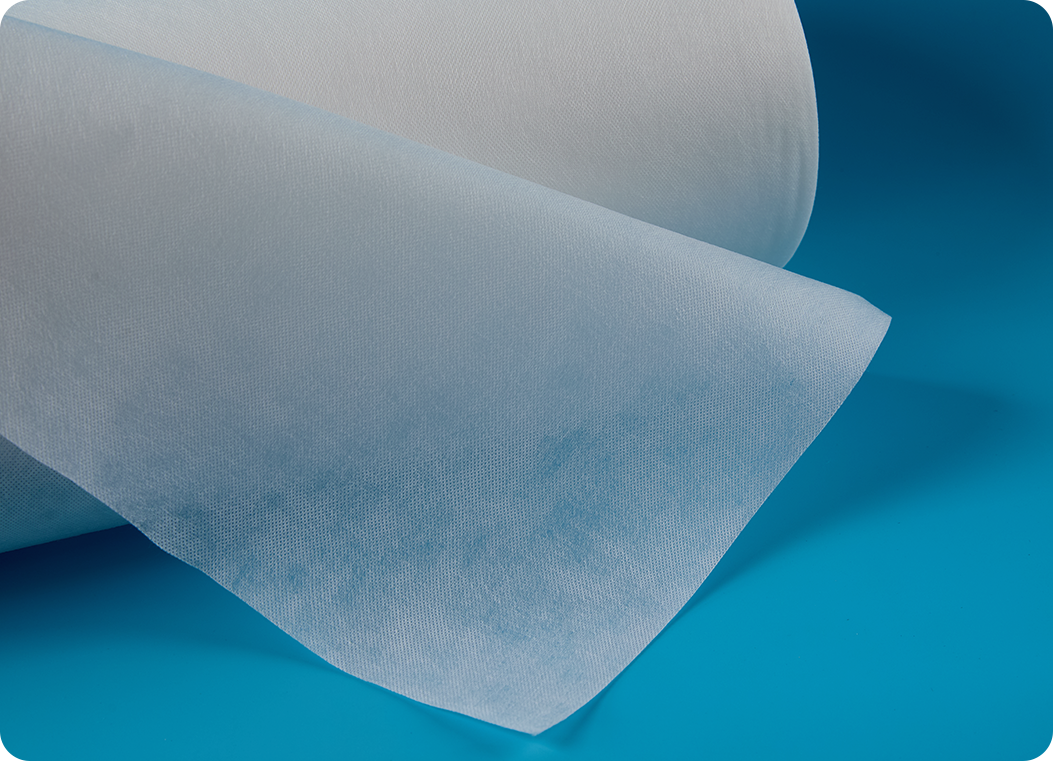
Enhanced Fabric Compatibility
One of the standout features of hot-melt film is its versatility across a wide range of fabrics. From delicate silks to sturdy denims, the film adapts to different material properties without causing damage or leaving residues. This compatibility is achieved through the variety of film weights and melt temperatures available, allowing users to select the perfect match for their specific fabric type. For instance, lighter films are ideal for sheer fabrics, while heavier films provide the necessary support for dense materials.
Improvement in Production Speed
The integration of hot-melt film into the embroidery workflow can lead to a noticeable increase in production speed. The reduction in thread breaks and the elimination of post-stitch backing removal steps streamline the entire process. Operators can load hoops faster and machines can run with fewer pauses, leading to higher output rates and improved overall efficiency for embroidery businesses.
How to Choose the Right Embroidery Stabilizer Backing
Selecting the appropriate stabilizer is a critical decision in the embroidery process, as it directly impacts the quality of the final product. When it comes to how to choose the right embroidery stabilizer backing, several factors must be considered to ensure optimal results. The choice between hot-melt film and other types of stabilizers, such as cut-away, tear-away, or water-soluble, depends on the fabric characteristics, the design complexity, and the intended use of the finished item. Firstly, assess the fabric's properties. Stretchable or unstable fabrics generally require a more permanent stabilizer like hot-melt film or cut-away to prevent distortion. For stable, woven fabrics, a tear-away might suffice. Secondly, consider the design's density. Designs with a high stitch count or large areas of fill stitches need the strong support provided by a firm backing to avoid puckering. Hot-melt film is excellent for such designs as it offers uniform support across the entire design area. The intended use and care of the item are also paramount. Garments that will be washed frequently need a durable stabilizer that won't degrade over time; hot-melt film is known for its wash-fastness. Lastly, consider the application process. Hot-melt film requires a heat press for application, which might be an additional step compared to simply placing a tear-away backing in the hoop. However, the long-term benefits often outweigh this initial setup.
To provide a clearer comparison, here is a breakdown of key considerations:
| Factor | Hot-Melt Film | Cut-Away Backing | Tear-Away Backing |
|---|---|---|---|
| Fabric Stability | Excellent for stretchy and unstable fabrics. | Good for stretchy fabrics, but can be bulky. | Poor for stretchy fabrics; best for stable wovens. |
| Design Complexity | Ideal for high-density and complex designs. | Suitable for dense designs, but may show through on lightweight fabrics. | Not recommended for dense designs; can cause puckering. |
| Durability | Highly durable and wash-resistant. | Very durable, permanent solution. | Less durable; may loosen after washing. |
| Ease of Removal | Excess peels away easily after stitching. | Permanent; must be trimmed around design. | Tears away, but can be tedious and leave residue. |
| Application | Requires heat press for application. | Placed in hoop with fabric. | Placed in hoop with fabric. |
Step-by-Step Guide to Applying Heat Transfer Film for Embroidery
The application of heat transfer film, specifically for embroidery, is a precise process that, when done correctly, yields exceptional results. This guide will walk you through the essential steps for applying heat transfer film for embroidery. The first step is preparation. Ensure that your fabric is clean, dry, and free from any wrinkles. Pre-pressing the fabric can help remove any moisture or creases that might affect the adhesion of the film. Next, select the appropriate type and weight of hot-melt film for your project. The film should be cut slightly larger than the intended design area to ensure full coverage. The third step is the application of heat. Using a heat press, set the correct temperature, pressure, and time according to the film manufacturer's specifications. These settings are crucial; too little heat and the film won't adhere properly, too much heat can damage the film or the fabric. Place the film with the adhesive side down onto the wrong side of the fabric. Then, press it using the recommended settings. After heating, allow the film and fabric to cool completely before moving to the embroidery phase. This cooling period allows the bond to set properly. Once cooled, hoop the fabric as you normally would, with the film side down. Proceed with the embroidery. The stitches will penetrate through the fabric and the film, locking them in place. After the embroidery is complete, remove the excess film around the design. This is typically done by hand-peeling; the film should come off easily around the stitched areas, leaving a clean and stable embroidery patch. This method ensures that the design remains crisp and the fabric is not distorted, providing a professional finish every time.
Critical Parameters for Heat Application
Getting the heat press settings right is non-negotiable for a successful application. Typically, temperatures range from 130°C to 160°C (266°F to 320°F), pressure should be medium to high, and time can vary from 5 to 15 seconds. It is imperative to conduct a test on a scrap piece of the same fabric to determine the optimal settings before applying the film to your actual project. Factors like fabric thickness and composition can significantly influence the required parameters.
Troubleshooting Common Application Issues
Even with careful preparation, issues can arise. If the film does not adhere well, it might be due to insufficient heat, pressure, or time. Conversely, if the film melts too much or bleeds through the fabric, the temperature is likely too high. Another common issue is difficulty in removing the excess film after embroidery. This can happen if the embroidery design is not dense enough to perforate the film adequately, making it harder to peel. Adjusting the stitch density or using a perforated version of the film can alleviate this problem.
Best Practices for No-Sew Embroidery Patches
The creation of no-sew embroidery patches using hot-melt film is a popular technique for producing durable and versatile patches that can be applied to virtually any garment or accessory without a single stitch. This method leverages the adhesive properties of the film to create a patch that is first embroidered and then heat-applied to the final product. The process begins with embroidering the design onto a base fabric that has been backed with a heavy-duty hot-melt film. The film provides the stability needed for clean embroidery and later acts as the adhesive for application. After embroidery, the excess fabric and film are cut around the design, typically leaving a small border. The key to a successful no-sew patch is the second heat application. The patch is placed on the desired garment, and a heat press is used to melt the adhesive film on the back of the patch, bonding it permanently to the fabric. The advantages of this method are numerous. It allows for incredible design flexibility, as patches can be made in any shape or size. It is also a fantastic solution for applying embroidery to items that are difficult to hoop, such as finished garments, bags, or hats. Furthermore, these patches are very durable and can withstand washing and drying without peeling or cracking, provided the application is done correctly.
Design and Material Considerations for Patches
When designing for no-sew patches, certain considerations must be taken into account to ensure a successful outcome. The choice of base fabric is important; it should be compatible with the adhesive film and the garment it will be applied to. Twill and felt are common choices due to their stability and texture. The stitch density should be high enough to ensure the patch is robust but not so high that it becomes too rigid or difficult to perforate the film. A satin stitch border is often used to encapsulate the edge of the patch, giving it a finished look and preventing fraying.
The Heat Application Process for Patches
The application of the patch is a critical step. The garment should be placed on a flat, heat-resistant surface. The patch is positioned adhesive-side down on the garment. Using a Teflon sheet or parchment paper to cover the patch can protect it from direct heat and prevent shine on the threads. The heat press should be set to the temperature and time recommended by the film manufacturer, usually involving a medium to high pressure. After pressing, it is essential to allow the patch to cool completely before handling. This cooling period ensures the adhesive sets fully, creating a strong and permanent bond.
Troubleshooting Common Issues with Hot-Melt Film Backing
Despite its many benefits, users may occasionally encounter problems when working with hot-melt film backing. Understanding how to identify and resolve these issues is key to maintaining high-quality output. One common problem is the film not adhering properly to the fabric. This can be caused by several factors, including insufficient heat during application, low pressure from the heat press, or a dirty fabric surface that prevents good contact. To resolve this, always ensure the fabric is prepped correctly and double-check the heat press settings against the film's specifications. Another frequent issue is the film tearing or breaking during the peeling process after embroidery. This usually indicates that the film is too heavy for the design or that the stitch density is too low to adequately perforate the film. Switching to a lighter weight film or increasing the stitch density, especially in fill areas, can help. Conversely, if the film is too light, it might not provide enough stabilization, leading to puckering. Choosing the correct film weight for the fabric and design is crucial. Embroidery puckering is another challenge that can persist even with film backing. This is often a sign of incorrect hooping tension—either too tight or too loose—or improper design digitizing for the specific fabric. Reviewing the digitizing parameters, such as underlay stitches and pull compensation, can mitigate puckering. Lastly, residue from the film left on the needle or thread can cause thread breaks. Using a needle designed for embroidery and ensuring the film is applied smoothly without wrinkles can reduce this problem.
Addressing Adhesion Failures
When adhesion fails, it's a multi-faceted problem. Beyond heat and pressure, the type of fabric plays a huge role. Synthetic fabrics with coatings or waterproofing may resist adhesion. In such cases, a test application is non-negotiable. Sometimes, a higher temperature or a longer press time is needed, but one must be cautious not to damage the fabric. Using a fabric-specific primer or a different type of adhesive film designed for difficult materials might be the ultimate solution.
Preventing Puckering and Distortion
Puckering is the arch-nemesis of quality embroidery. Even with film, it can occur if the fundamental issues aren't addressed. Ensure the fabric is hooped taut but not stretched. The digitizing process must account for the fabric's stretch and the pull of the threads. Using adequate underlay stitches helps to anchor the design and prevent the top stitches from pulling the fabric together. If puckering continues, consider using a heavier stabilizer or a combination of film and a temporary topping for very problematic fabrics.
Creative Applications of Embroidery Adhesive Film in Design
The use of embroidery adhesive film extends far beyond simple stabilization; it opens up a world of creative possibilities for designers and artists. This versatile material can be employed in innovative ways to achieve unique textures, effects, and applications that would be difficult or impossible with traditional methods. One creative application is in the realm of layered embroidery. By using multiple layers of film and fabric, designers can create three-dimensional effects and raised designs that add depth and tactile interest to their work. The film holds the layers together securely, allowing for complex constructions. Another innovative use is in creating freestanding lace designs. Water-soluble stabilizers are typically used for this, but combining them with a light-weight hot-melt film can add body and stability during the stitching process, making it easier to handle delicate designs. After washing away the soluble stabilizer, the film can remain, providing a flexible yet structured lace piece. Hot-melt film is also excellent for appliqué work. It can be used to bond the appliqué fabric to the base fabric before stitching, eliminating the need for basting or temporary adhesives. This results in a cleaner application and prevents the appliqué fabric from shifting during embroidery. Furthermore, the film can be used on non-textile surfaces like leather, cork, or even thin wood veneers for unconventional embroidery projects, provided the right application settings are used. The adhesive properties allow embroidery to venture into new material territories.
Experimental Textures and Mixed Media
For the adventurous creator, embroidery adhesive film can be a gateway to mixed media art. It can be used to adhere other materials like metal foils, sequins, or even paper into an embroidery piece before or after stitching. The heat-activated bond secures these elements, allowing them to be incorporated seamlessly into the textile landscape. This encourages experimentation and breaks the conventional boundaries of embroidery.
Enhancing Commercial Product Design
In commercial design, the film enables mass production of intricate designs on delicate items. Its use in creating flawless logos on high-performance athletic wear is a prime example. The stability it provides ensures that even the most complex corporate logos are reproduced with precision on stretchy polo shirts or sleek jackets, maintaining brand integrity across thousands of garments. This reliability makes it an indispensable tool in the commercial embroidery industry.